Repurposing old furniture is a creative way to give new life to items that might otherwise be discarded. One of the most versatile and stylish DIY projects is turning an old door into a functional table or a unique shelf. This approach is not only sustainable but also allows you to create a custom piece of furniture with character and history.
This guide will walk you through everything you need to know—from selecting the right door to assembling and styling your new furniture.
Why Repurpose an Old Door?
Many old doors end up in landfills after renovations, but they are excellent candidates for DIY projects. Here’s why:
- Durability – Older doors, especially solid wood ones, provide a sturdy and reliable base for furniture.
- Unique Character – Vintage doors often have intricate details, distressed finishes, or rich wood grain that add charm.
- Sustainability – Repurposing reduces waste and supports eco-friendly practices.
- Customisation – You can tailor the design to match your décor, whether rustic, modern, or classic.
Choosing the Right Door
Before you start, selecting the right door is crucial. Keep these factors in mind:
- Material – Solid wood doors are ideal for strength and durability, while hollow-core doors may need extra support.
- Condition – Avoid doors with severe damage or rot. Minor scratches and dents can be repaired.
- Size – Ensure the door fits the intended space for your table or shelf.
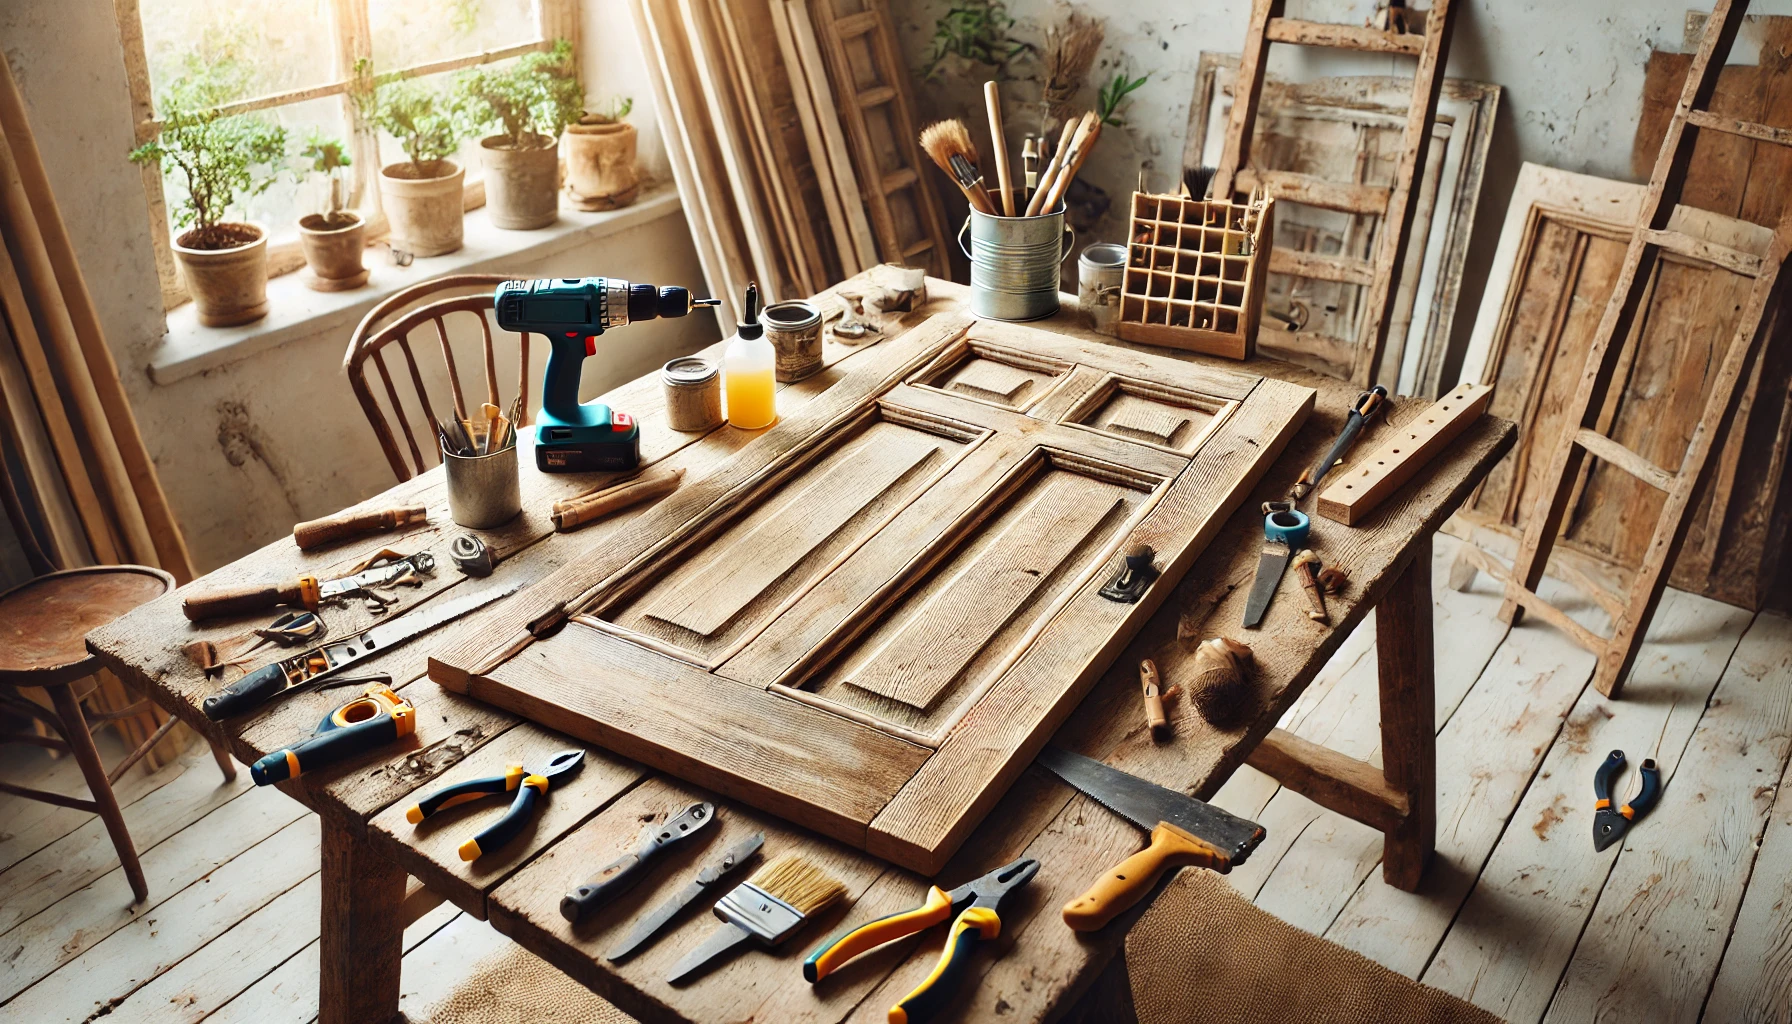
Materials and Tools You’ll Need
Materials:
- An old door
- Table legs or wall brackets (for shelves)
- Wood filler
- Sandpaper (medium and fine grit)
- Paint or wood stain
- Clear sealant or varnish
- Screws, nails, or adhesive
Tools:
- Measuring tape
- Saw (if resizing is needed)
- Drill and screwdriver
- Paintbrush or roller
- Clamps
- Protective gloves and mask
Step 1: Preparing the Door
Cleaning
Remove dust, dirt, and peeling paint with a damp cloth and mild detergent. Let the door dry completely before moving on.
Sanding
Sand the entire surface to remove old paint and create a smooth finish. Start with medium-grit sandpaper to remove rough patches, then switch to fine-grit for a polished look.
Repairing Damage
Fill any cracks, holes, or dents with wood filler. Once dry, sand the patched areas until smooth.
Step 2: Designing Your Project
Decide whether your door will become a table or a shelf, as the approach varies for each.
For a Table:
- Determine the height based on its function: dining tables are around 76 cm, while coffee tables range from 40 to 46 cm.
- Choose metal legs for a modern look or wooden legs for a rustic style.
For a Shelf:
- Decide on placement. A large door can be cut into multiple smaller shelves.
- Use sturdy wall brackets that can support the weight.
Step 3: Cutting and Shaping
If resizing is necessary, measure and mark the correct dimensions before cutting.
- For shelves: Cut the door into even sections.
- For tables: Trim edges to ensure a smooth and level surface.
Step 4: Painting or Staining
A good finish enhances the look and protects the wood.
If painting:
- Apply a primer before adding 2-3 coats of paint, allowing each layer to dry fully.
- Choose a colour that complements your décor.
If staining:
- Apply the wood stain with a cloth or brush, wiping away excess for an even finish.
- Seal with a clear varnish to protect against moisture and scratches.
Step 5: Assembling the Table or Shelf
For a Table:
- Attach the legs securely to the underside of the door using screws or brackets.
- Ensure they are evenly spaced and level.
For a Shelf:
- Attach wall brackets to the underside of the door.
- Secure the brackets to the wall using a drill, ensuring they are level and properly anchored.
Step 6: Styling and Placement
Once your table or shelf is complete, it’s time to integrate it into your space.
- Tables: Use as a dining table, desk, or coffee table. Add decorative elements like books, vases, or lamps.
- Shelves: Arrange plants, books, or artwork to make it a focal point in the room.
Step 7: Maintenance Tips
To keep your new furniture in excellent condition:
- Dust regularly with a soft cloth.
- Wipe spills immediately to prevent stains.
- Reapply sealant or varnish every few years if needed.
Final Thoughts
Turning an old door into a table or shelf is a rewarding DIY project that combines creativity, sustainability, and functionality. With the right tools and a little effort, you can create a unique, stylish, and practical piece of furniture that adds character to your home. Instead of discarding an old door, why not transform it into something beautiful and useful?